Connecting OpenBCI's Cyton Hardware and Streaming Live Sensor Data with Fathym's OpenBiotech
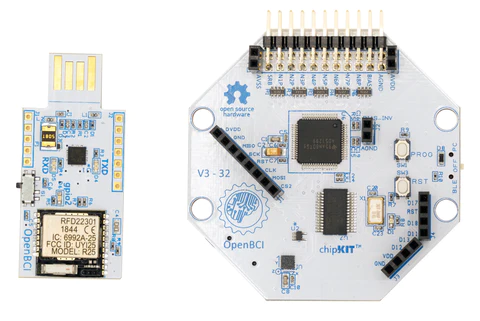
In this tutorial, we will be taking OpenBCI’s Cyton Biosensing Board, reading its sensor datastreams, and sending real-time messages to Fathym's OpenBiotech. The Cyton allows you to gather 8-channels of scientifically-validated physiological data.
Things you will need
- Cyton Biosensing Board info
Cyton Biosensing Board can be purchased at: https://shop.openbci.com/products/cyton-biosensing-board-8-channel
- A Windows computer/laptop PC operating systemnote
Program only functions for Windows OS currently.
- OpenBiotech Data Streaming Applicationinfo
OpenBiotech's IoT streaming application can be downloaded here: https://github.com/o-biotech/openbiotech-iot-stream-brainflow/releases
- Fathym OpenBiotech accountinfo
Sign up for OpenBiotech here: https://www.openbiotech.co/
Part 1 - Hooking Up Your Hardware
You will need to plug in your USB “dongle” into your computer. Ensure that the small toggle on your USB dongle is set to “GPIO_6.”
Plug in the provided lithium ion battery into the Cyton board itself.
Once this is done, slide the small toggle switch to “PC.”
If you need additional docs for setting up the Cyton board, go here.
No need to install OpenBCI’s GUI, just follow the hardware setup portion.
Part 2 - Download the OpenBiotech IoT Stream Application
Now that we have the board set up, we need to download and install the data streaming application to your Windows PC.
Download the “.msi” file from the release page here.
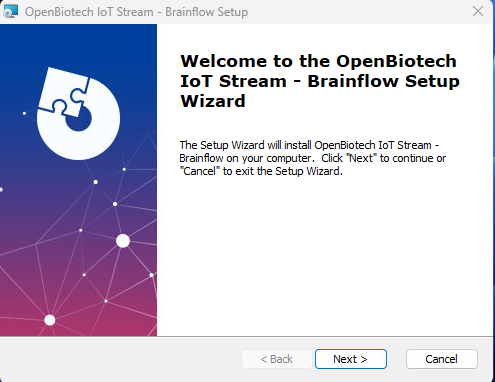
Run the downloaded file, which should open up a wizard installer.
Complete step through of the installation wizard.
Certain firewalls/virus protection programs may attempt to block the download/install of the file. Be sure to make a firewall exception in order for the application to install/run.
Part 3 - Register with Fathym OpenBiotech and Create a Device
To get started with OpenBiotech’s tools, simply sign up for OpenBiotech for free on the OpenBiotech website.
First you will land on the OpenBiotech Set Up Configuration. Follow the steps as outlined in the process to configure your cloud infrastructure and register a device.
We'll start off with a symmetric key protected device, and can move to other security in the future. All that's needed for the following sections is the device connection string.
Copy it from the dashboard, after creating a first device, using the  button.
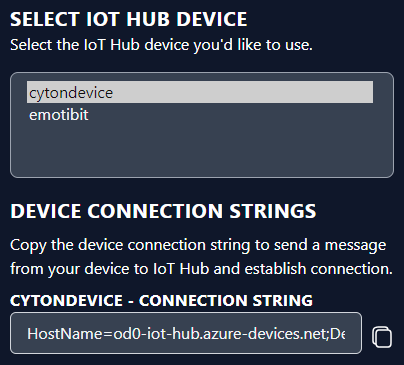
When connecting devices, the connection is to a cloud-native Azure IoT Hub. We don't place any technology between the device and the IoT Hub, making it possible to develop solutions with the full capabilities of Azure IoT Hub. Read more on how to connect devices using the connection string.
Part 4 - Running the application and Streaming your Data
- Open the newly installed OpenBiotech IoT Stream - Brainflow application. This application utilizes Brainflow, a library for obtaining, parsing and analyzing EEG, EMG, ECG and other kinds of data from biosensors.
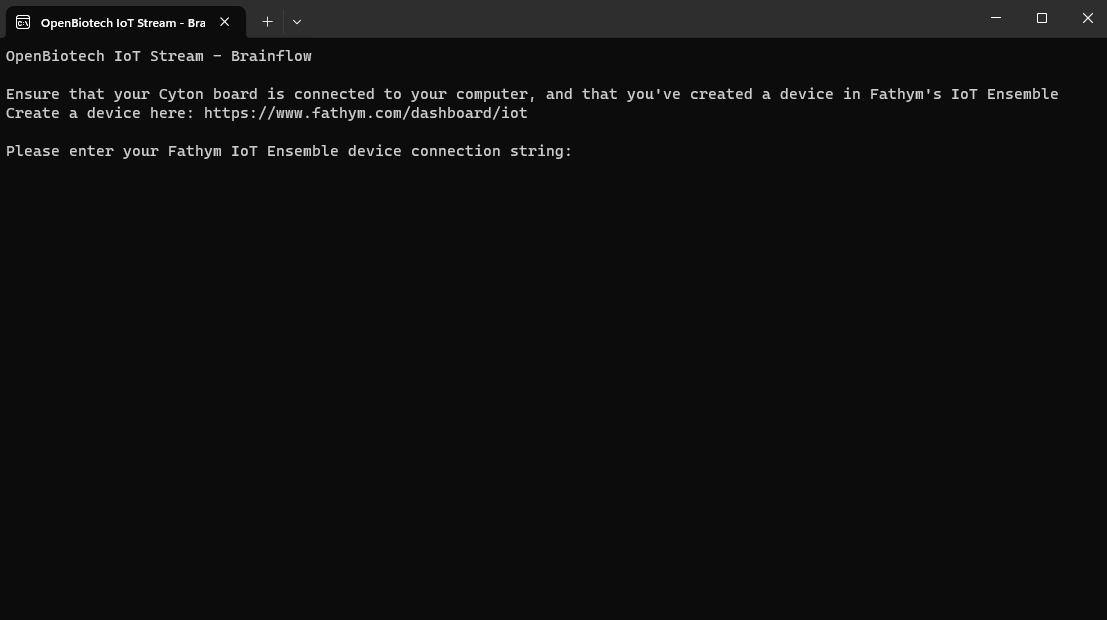
When prompted, paste your OpenBiotech device connection string (copied from the previous step).
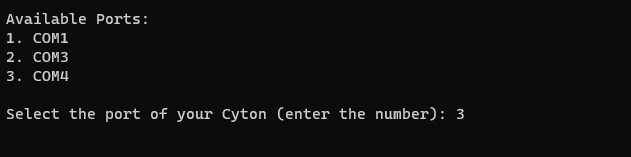
The application will ask you to select which computer port the Cyton is connected to. Type the corresponding port selection and hit enter.
If everything is correct, the application will start to read and pull data from the Cyton board, and send them to the device created within OpenBiotech.

From there, you can use OpenBiotech's built in API endpoints to query and access your data.