Connect Devices
The second section of the OpenBiotech getting started workflow is to start connecting devices and configuring default dashboard services.
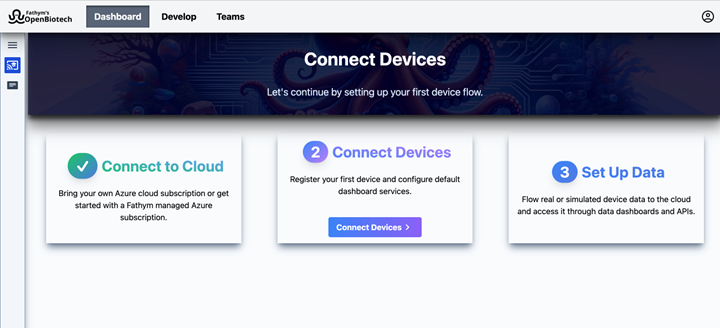
Within the devices section of the getting started workflow are the following two steps:
- Connect a Device
- Set Up Data Dashboards
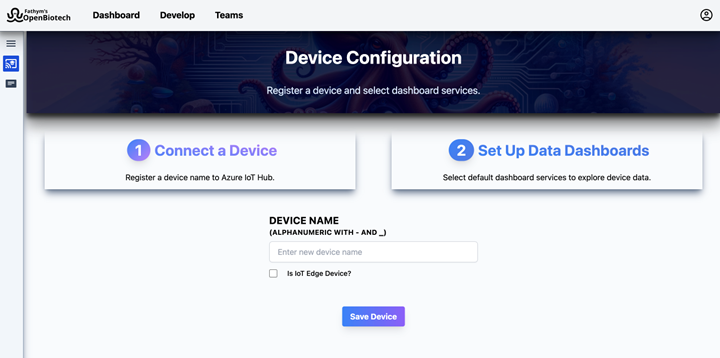
1.) Connect a Device
The first step is to register a device name to Azure IoT Hub. This also generates the shared access keys and connection strings that will be used later in the workflow to start flowing data from a physical or simulated device to the cloud.
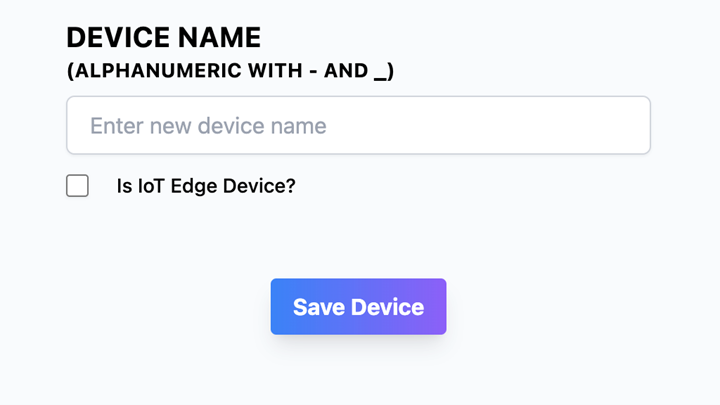
To complete this step, you simply need to enter a new device name. The name must be alphanumeric, using only letters and numbers or also – or _ to separate words. For example, device-name-001.
Underneath there is a checkbox accompanied by the text ‘Is IoT Edge?’ Check this box to configure the device with Azure IoT Edge.
To save the device, click Save Device.
2.) Set Up Data Dashboards
This step enables you to select and install default data dashboard services. These dashboard services provide an accessible, in-platform way to immediately stream, view and query device data without having to send downstream to external services.
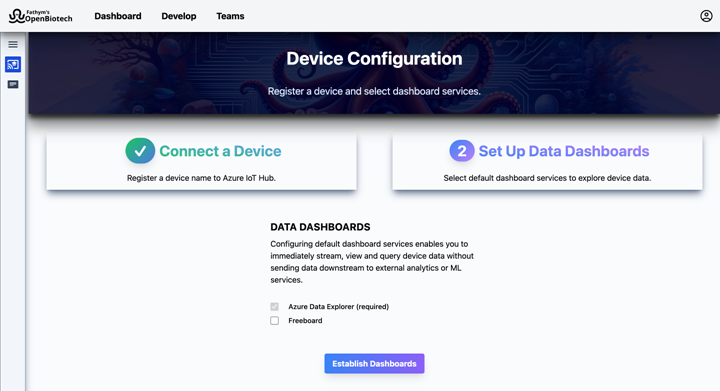
There are currently two dashboard services, one required and one optional:
Azure Data Explorer (required): Azure Data Explorer is an analytics service for real-time and time-series analysis on large volumes of data streams. Use it to quickly identify patterns, anomalies and trends in your data.
Freeboard (optional): Freeboard is an open-source, configurable dashboard for viewing real-time device data.
Select the check box for Freeboard if you wish to include it and then click Establish Dashboards.