Managing OpenBiotech Devices
In the getting started workflow there is the opportunity to connect a device to Azure IoT Hub and start flowing real or simulated device data to the cloud. Naturally, once the OpenBiotech platform is provisioned, it is important to be able to easily access, add or delete devices.
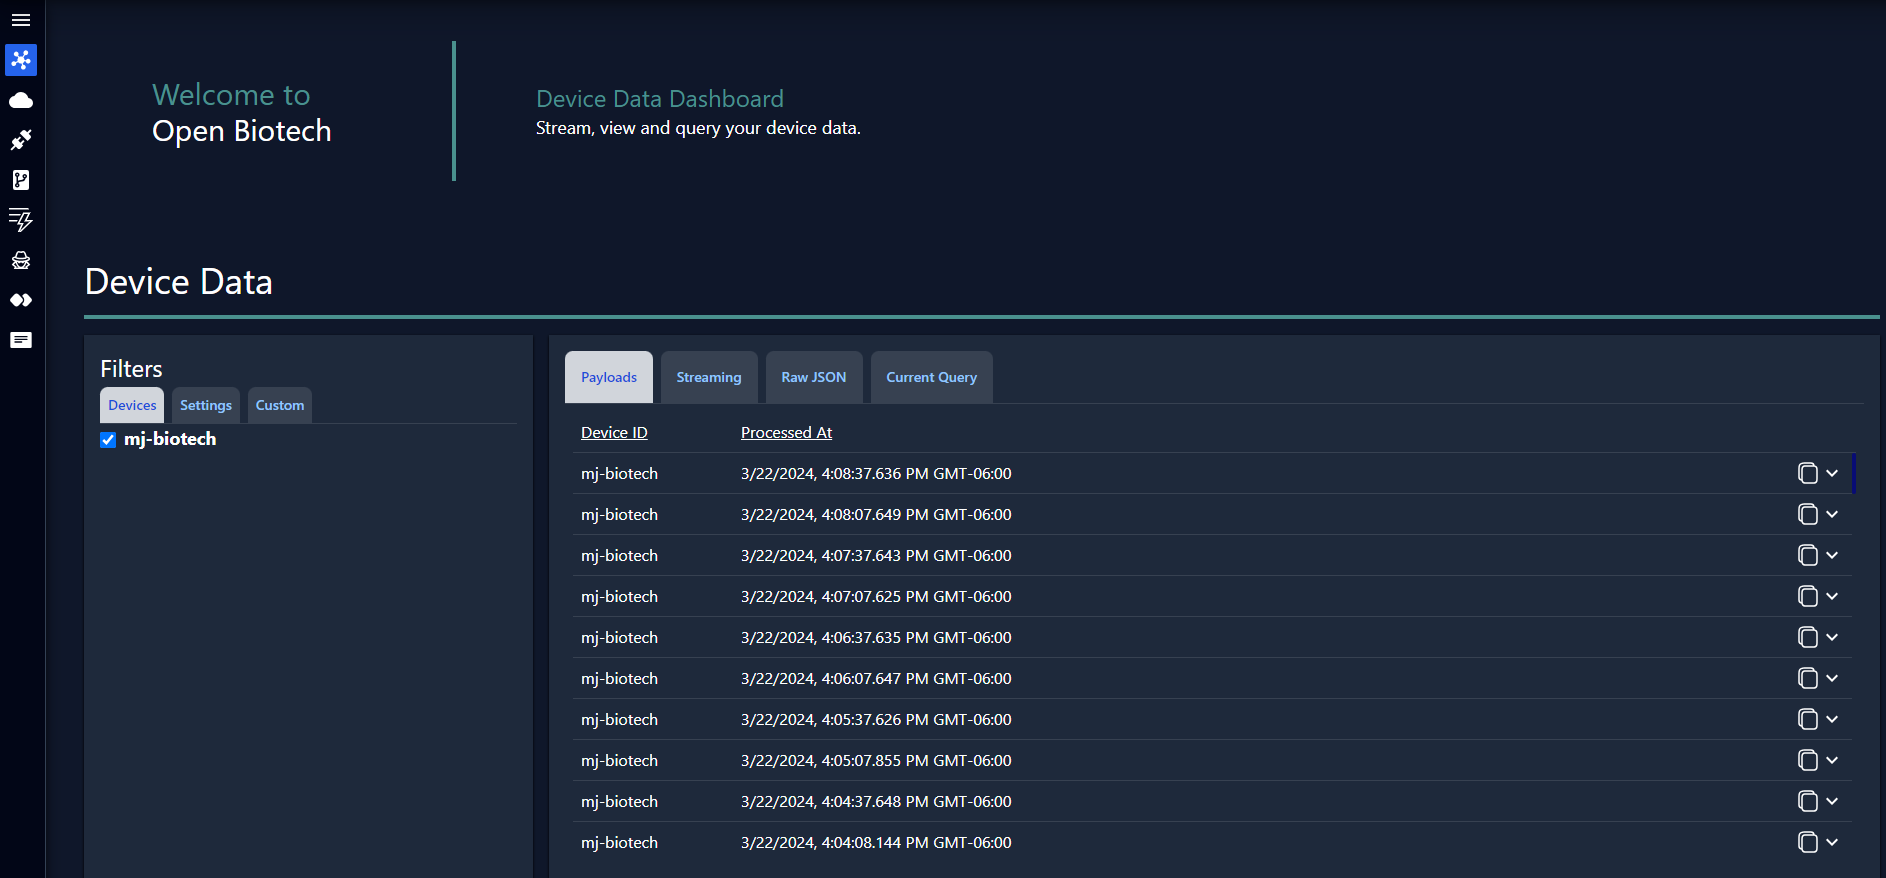
In the device data dashboard in the image below, there is so far one device (mj-biotech) with processed data.
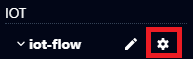
To work with devices from the OpenBiotech platform, view the sidebar to the left.
Select the ![]() button and the IoT section will expand.
button and the IoT section will expand.
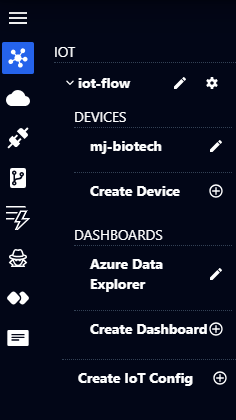
To access the connected device under Devices, click the edit button beside mj-biotech.
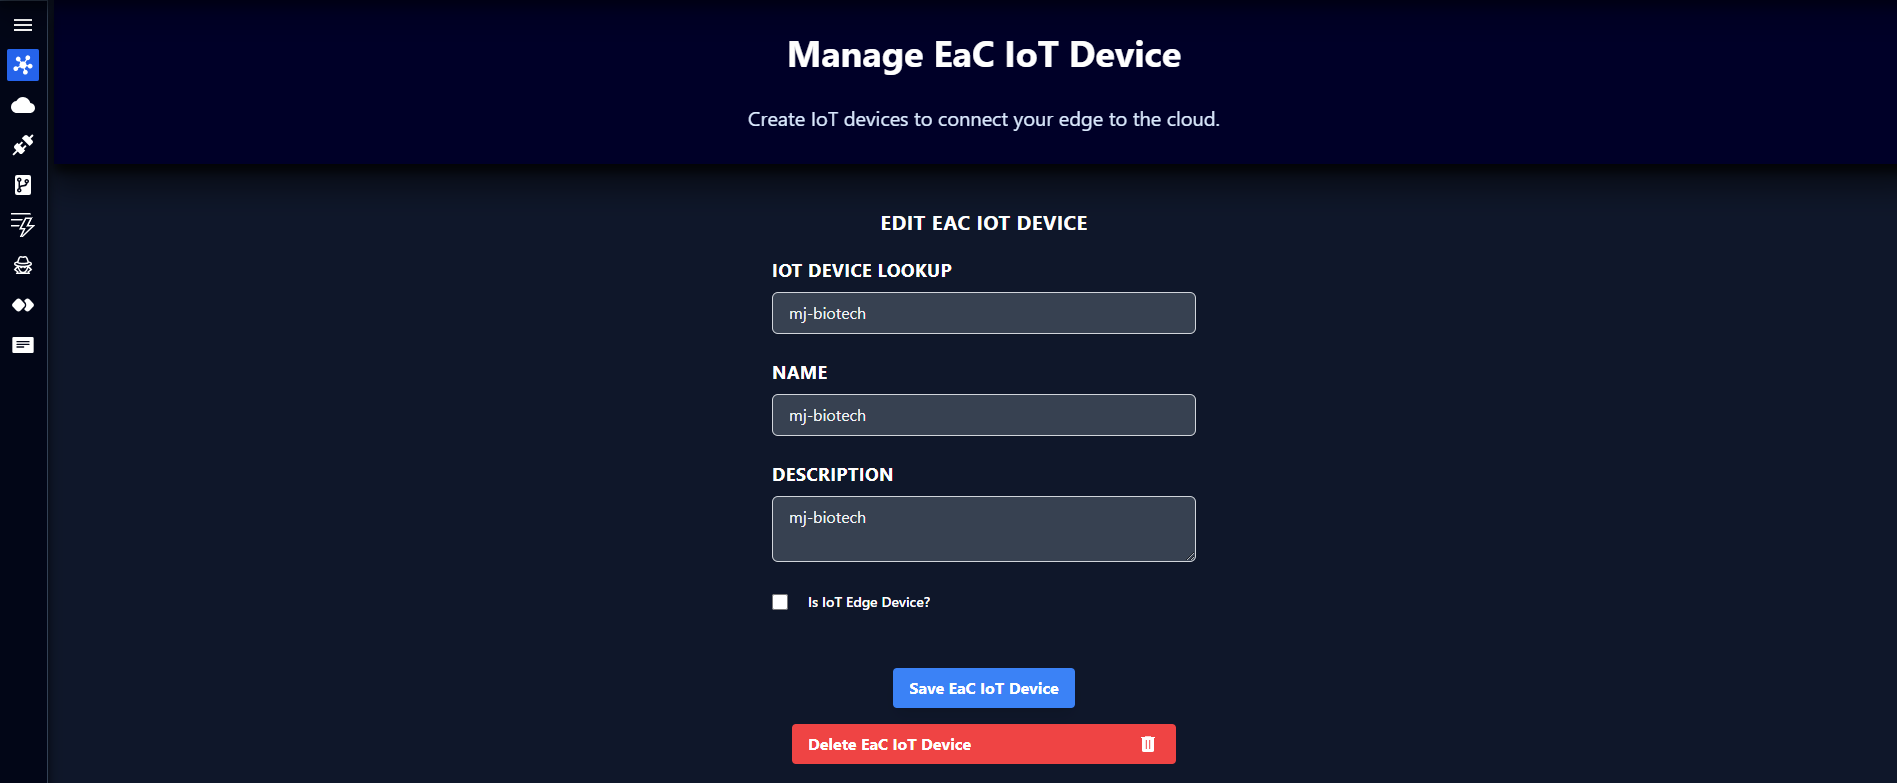
You can update the device’s lookup, name and description (click Save EaC IoT Device when ready). You can also delete the device by clicking Delete EaC IoT Device.
By design, deleting a device currently removes it from the user interface but not from the underlying Azure IoT Hub. If you wish to, you must remove the device directly from Azure IoT Hub.
To add a new device, in the IoT sidebar click Create Device. You will land in the following page.

To register a new device to Azure IoT Hub, enter a lookup, name and description. For example:
IoT Device Lookup: mj-biotech-02
Name: mj-biotech-02
Description: an additional mj biotech device
Then click Create EaC IoT Device to save the new device.
The next step is to establish device-to-cloud telemetry. Click the settings cogwheel button in the IoT sidebar.
This leads you to the Manage EaC IoT Settings page. Here you can manage data storage infrastructure and configure Azure IoT Hub telemetry.
Scroll down to the IoT Hub section.
If you previously completed the getting started workflow, you may recognize this interface for establishing device-to-cloud telemetry.
There are two pathways in this step.
- Flow physical device data
- Flow simulated device data
If you have a physical device, there are instructions on using a connection string to establish device-to-cloud telemetry and start flowing real device data to the cloud. If you don’t have a device or prefer to test the system with simulated data, there are instructions on using Docker to generate simulated IoT Hub data.
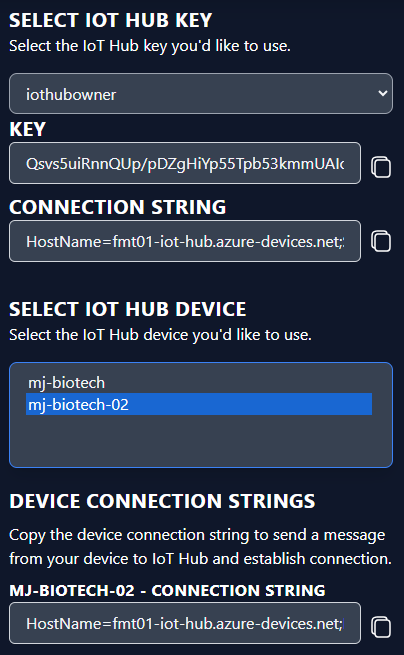
To get started, first select the IoT Hub Key you would like to use. These keys are shared access policies that define access control and permissions to IoT Hub.
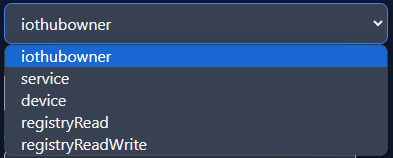
We suggest proceeding with iothubowner, as it is the policy with all permissions. You can learn more about the permission levels for each IoT Hub Key in these Azure docs.
For each IoT Hub Key role a different key and connection string are generated.
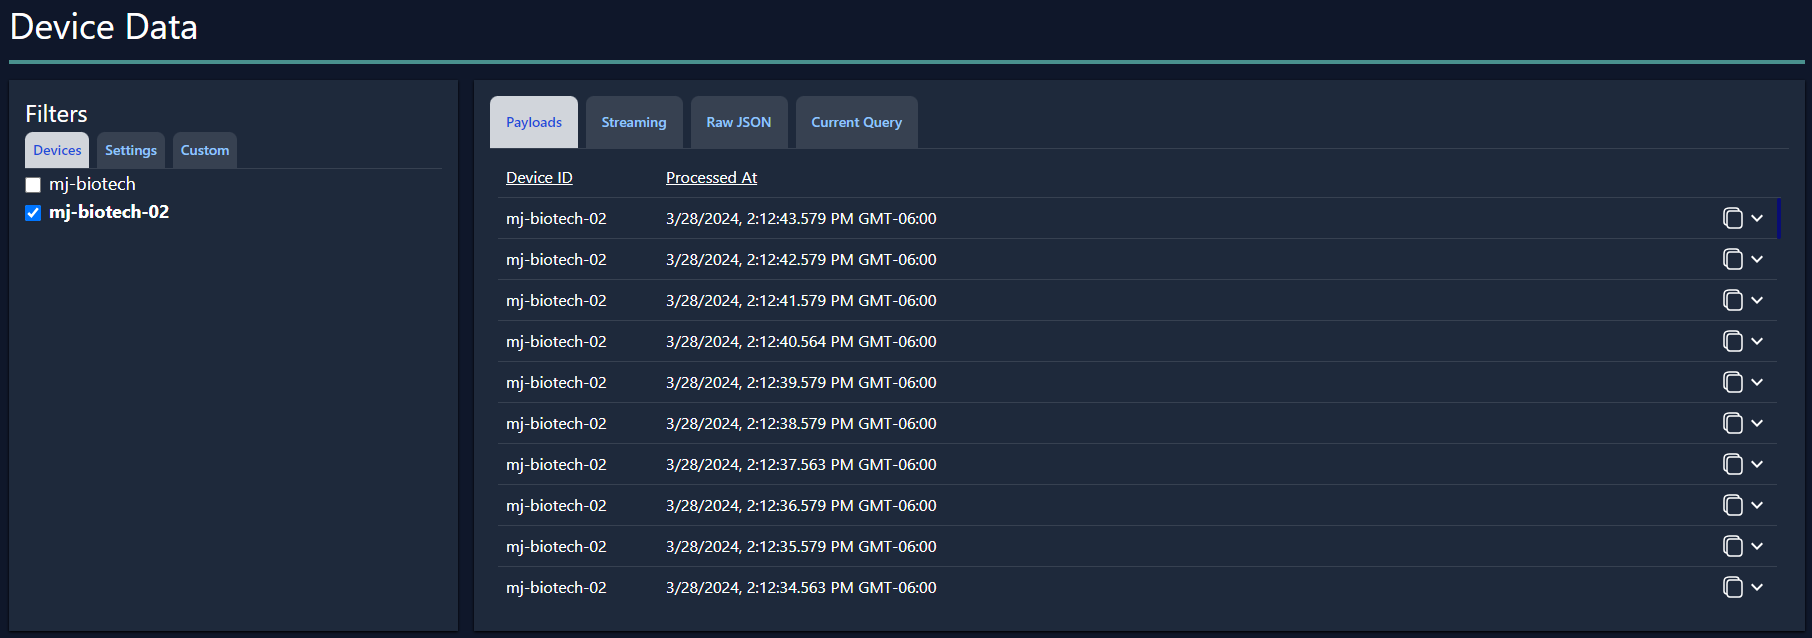
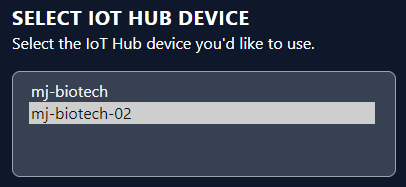
Next, select the IoT Hub device. You will see the device name you just registered (in this case mj-biotech-02).
Physical device data:
To connect a physical device to IoT Hub, a device connection string with a unique shared access key is provided.
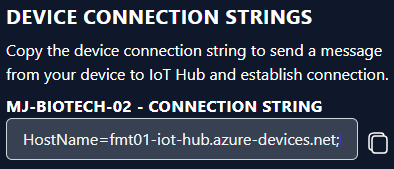
This is what the device connection string looks like:
HostName=fmt01-iot-hub.azure-devices.net;DeviceId=mj-biotech-02;SharedAccessKey=XXXXXXXXXXXXXXXXXXXXXXXXXXXXXX
It consists of the device ID that was just selected and a unique shared access key. This connection string is now ready to be used on physical devices to send a message to IoT Hub. For an example of how to do this you can reference the Cyton tutorial.
Simulated device data:

To flow simulated data to IoT Hub, first install Docker on your computer if you haven’t already. Make sure Docker Desktop is running.
Copy the provided unique Docker command and, using the Fathym CLI (information on installing the CLI), run the command in your terminal.
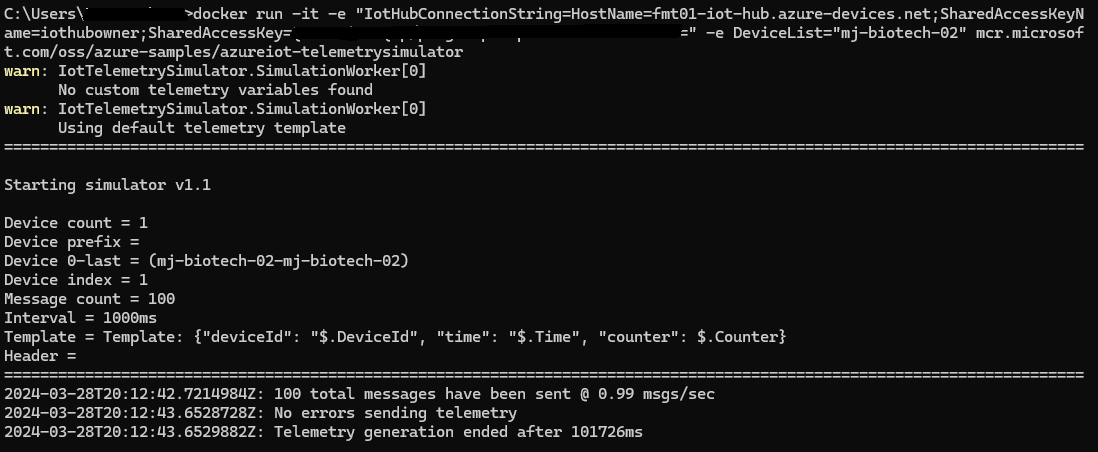
An example of the Docker command:
docker run -it -e "IotHubConnectionString=HostName=fmt01-iot-hub.azure-devices.net;SharedAccessKeyName=iothubowner;SharedAccessKey=XXXXXXXXXXXXXXXXXXXXXXXXXXXXXXX" -e DeviceList="mj-biotech-02" mcr.microsoft.com/oss/azure-samples/azureiot-telemetrysimulator
Data should soon start populating your terminal.
It can take a couple of minutes for that data to be confirmed in OpenBiotech.
Return to the device data dashboard. Soon you should see new payloads from IoT Hub populating the dashboard.